
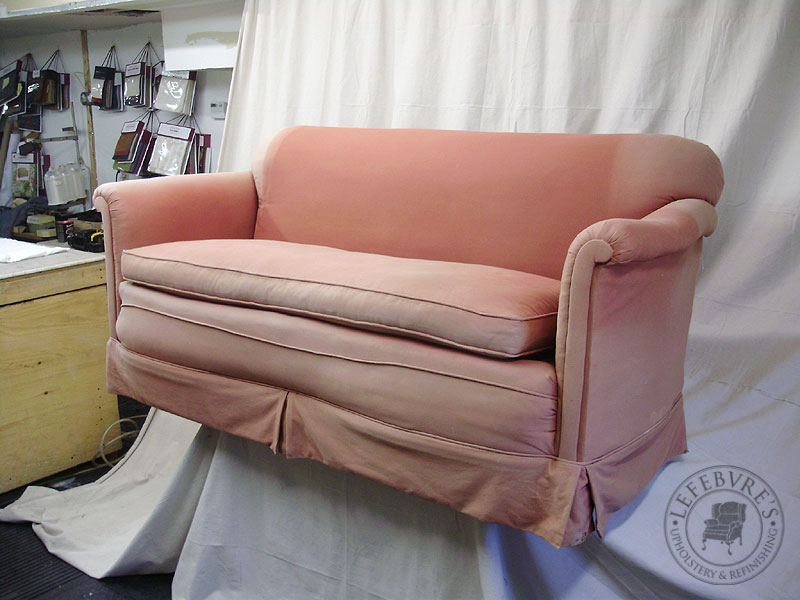
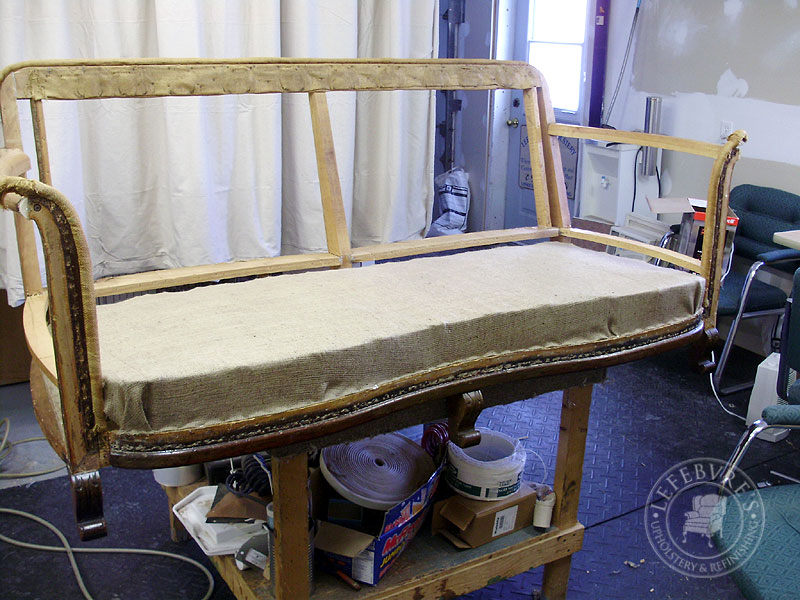
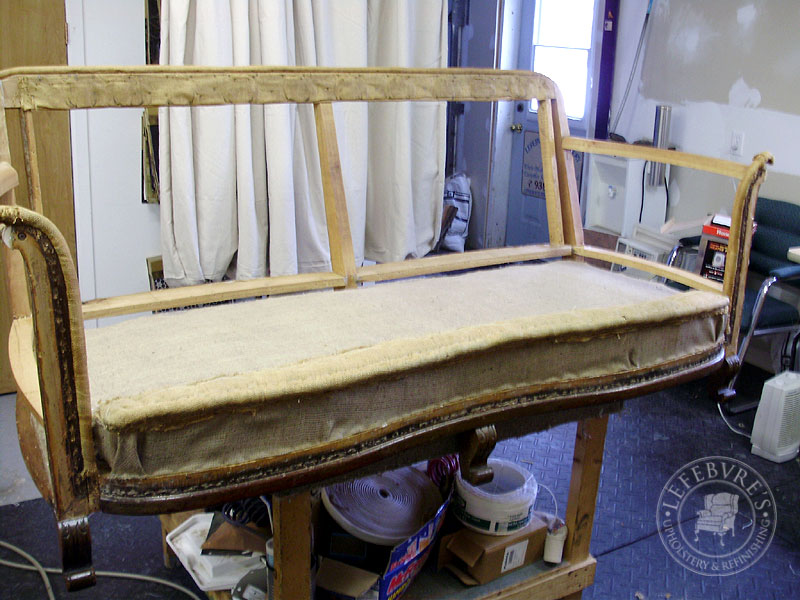
You don't need to be an expert upholsterer to see that this sofa was very poorly done by the last person who worked on it. Just looking at it from the front, you can see that the front edge under the pillow wasn't attached properly to the stuffing/edge, then there is the terrible job on the arms, with about 100 pleats and creases around the ill-fitting front arm caps.

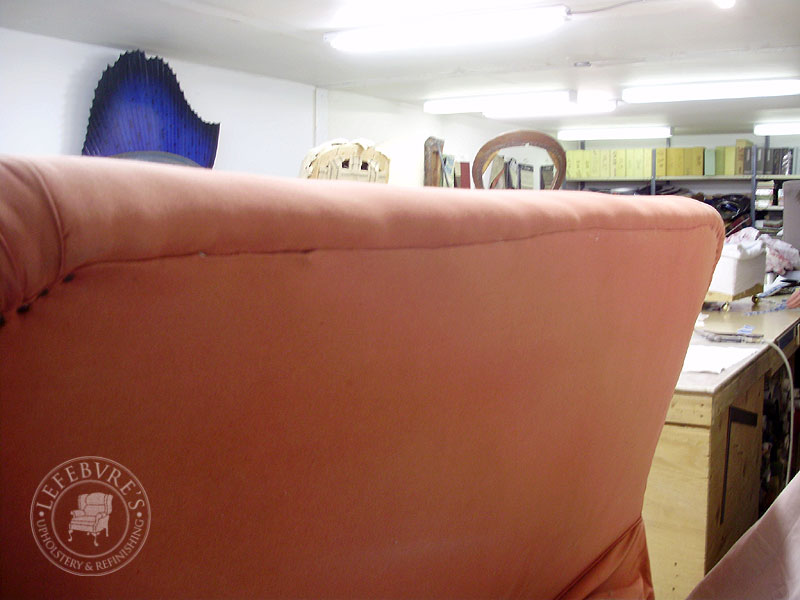
The upper back edge was incredibly crooked.
You can also see how very lumpy the arms appeared along the bottom edge.

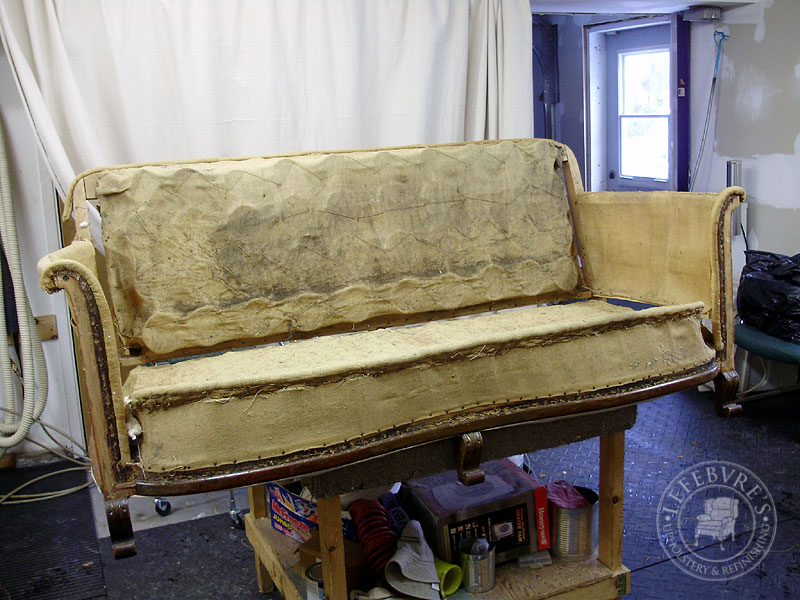
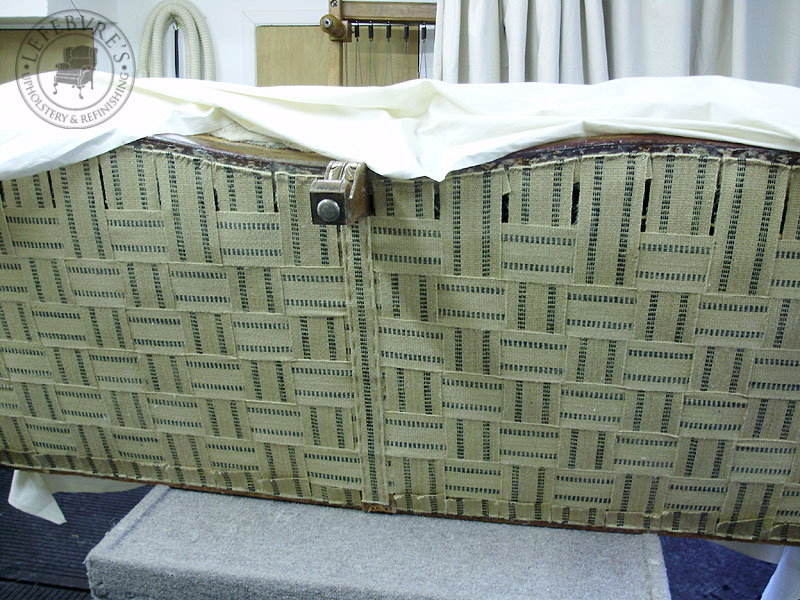
The first step was to remove all the fabric. Thankfully this was the only layer on the sofa. Here you can see the cotton padding, and you can also see that the front edge was not attached (tied) properly. It's much tighter in the centre, and much too loose around the front curves.

Here, all the stuffing has been removed and set aside. It was mainly Spanish Moss (or "black fibre"), with a lovely coat of black horsehair on the top layer (just under the cotton).
Although the springs were correctly tied with an 8 way hand tie pattern, the entire thing was a complete mess with several additional cords, and we decided to get rid of all this and start fresh. It was not easy to remove all these ropes and knots from the springs.

Detail:

Likewise, the back springs had TWO burlap covers, hand tied TWICE, which had to be removed. While the ties on the back springs were still technically good, the burlap and webbing they sat on, needed to be replaced, so these also got re-tied.

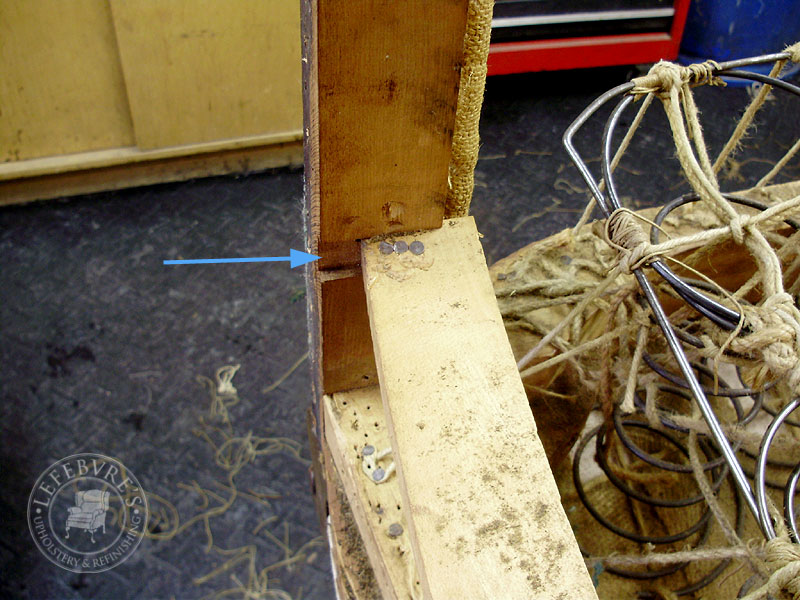
There were a few places on the frame that needed to be repaired, and a few botch jobs needed to be fixed, such as this lower arm rail which was over half an inch out of place. We also puttied and filled all the holes in the frame to get a good base for the new upholstery.
Frame repaired, puttied, new bottom webbing installed (photo farther down), and springs re-installed and re-strung.

Burlap in place.
Original hand stuffed edge roll re-attached. Notice here, and in the previous photo, that the front edge is now a good, uniform height when compared with the photos earlier.
New (and very densely woven) webbing on the bottom.
A few things to note in the following photo. First: We normally don't use a mismatched fabric on the deck (the solid navy blue), however, we were working with a fabric supplied by our client, and we were really not sure if we would have enough for the whole sofa, so we used a coordinating blue here instead. The seat cushion will cover this, and it won't be visible, but we usually prefer to use the same fabric everywhere. Second: If it's not totally clear, the sofa is lying on its back in this photo. Third: The back springs don't get much pressure or tension, so they only get a 4-way tie instead of an 8-way (which would be overkill).

Detail:

Backrest springs covered in burlap.

Here's a quick shot of the underside, showing the black bottom fabric, held in place with tacks (which we use on our antique pieces).

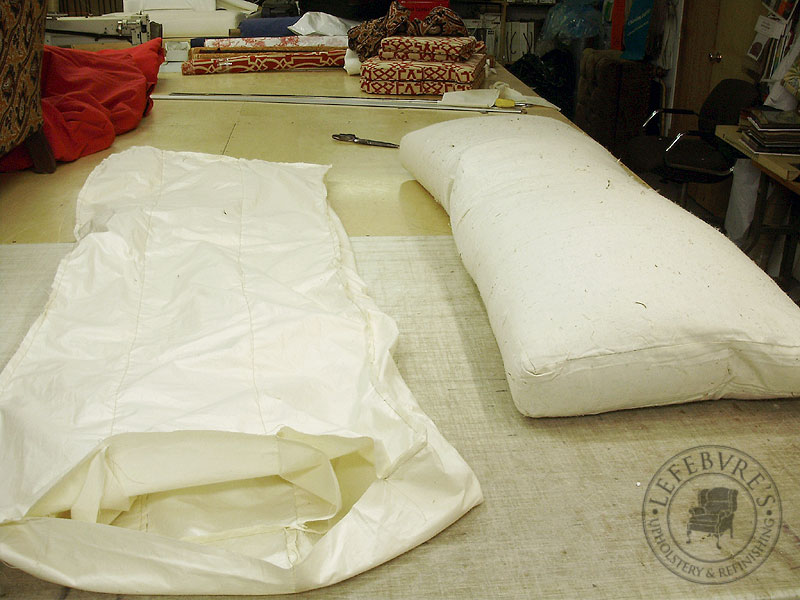
With the main sofa body done, we turned our attention to the cushion. As you can see here, as well as in the original photos, at some point the cushion was redone, and they made it too short by about 2 or 3 inches. This left an unsightly gap on the edges.

This meant that unfortunately, we would need to remake and re-stuff the down-filled cushion.
If you have ever seen a movie with a pillow fight in it, with feathers flying in every direction, you can't really appreciate the sheer mess this would create in your home. It's almost unimaginable. If the pillow is a fairly high quality one (like the one in this sofa), the filling will have a lot of down in it, and the down is tiny and as light as air. It will get EVERYWHERE, and coat every surface it touches (including walls).
In most cases, when it comes to feather and down cushions, we just need to make a new down-proof "extra" slipcover over the old pillow to help contain any leaks, but in the case of this particular pillow, that wasn't going to work.
Here is the new pillow casing (with baffles*) on the left, and the existing old pillow on the right, which had to have its feathery innards transferred to the new casing.
*Baffles are internal dividers which help to keep the pillow rectangular, and also to help keep the feathers/down evenly distributed inside. The old pillow did not have baffles.
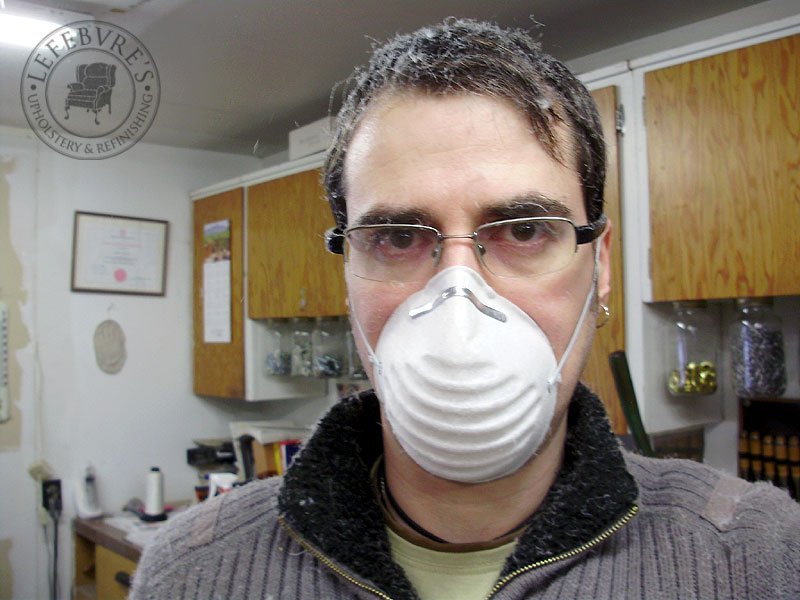
This is a shot of me right after we had gotten all the feathers into the new casing. Note all the thousands of tiny little feathery bits floating in the air.
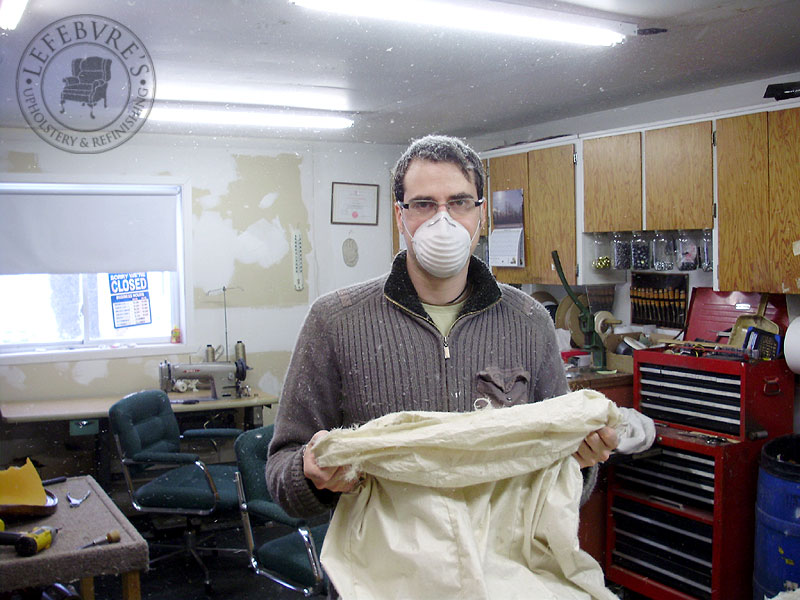
It got everywhere. In my eyebrows, eye lashes, hair, sweater, shoes, under the tables, all over the floor, everywhere. We vacuumed about 5 times during the day, and still found feathers weeks later.
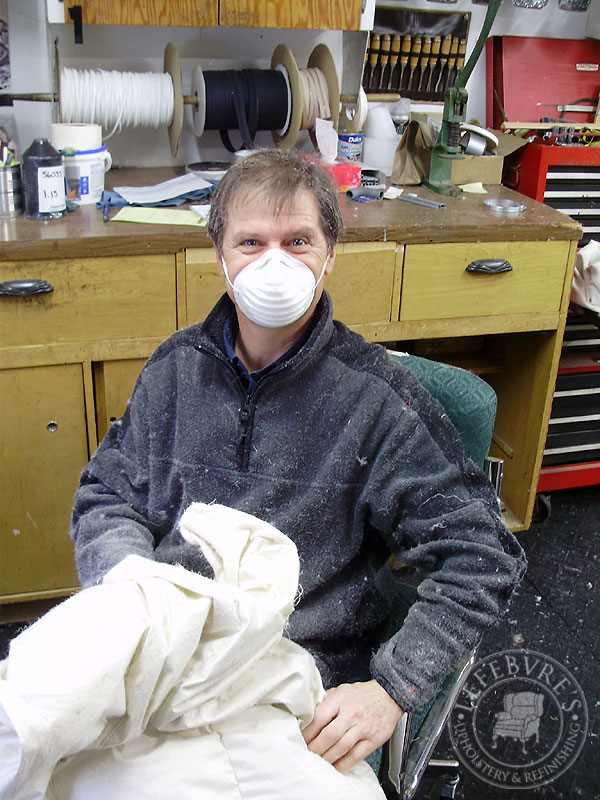
This was Pierre right after he sewed the pillow casing shut, and just before we started to clean up.
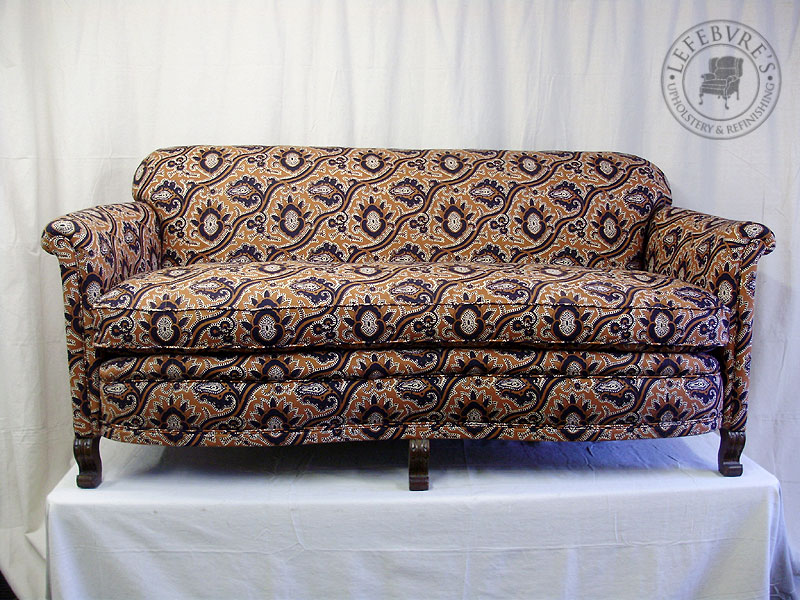
So there we are, after all this work, with a beautiful and completely overhauled sofa, ready for years more service. You will also note that the skirts had been covering-up some beautiful carved mahogany feet. There also used to be a rounded band of mahogany that went along the bottom, and curved up the arms, but part of it had been removed and thrown away. We left the remaining bottom band in place (you can see it earlier) but covered it with fabric.
We also re-trimmed the arm caps to better fit the arms and give a nicer, cleaner appearance. I think the finished sofa is stunning!


I did not get a photo of the back (nothing too exciting to see), but here you can see the rear feet, which have a nice little curve to them.

