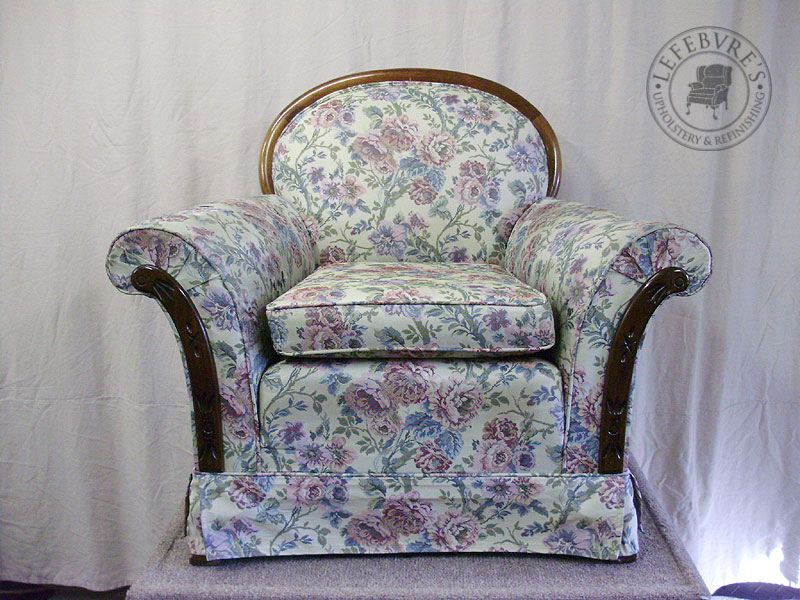
This is one of 3 pieces in the same antique sofa set. We estimate that the set is from around the 1920s or 30s. The client had already had them reupholstered a few times in the past, and the last time she got them done, she had skirts added, and decorative front appliqués removed. She held on to these, and she wanted us to remove the skirts and reattach the appliqués. Since the appliqués were much darker, and none of the wood tones on anything matched anymore (as well as this particular chair having a broken foot), we refinished everything in a very dark walnut colour (it may appear black in some photos, but it is in fact brown).
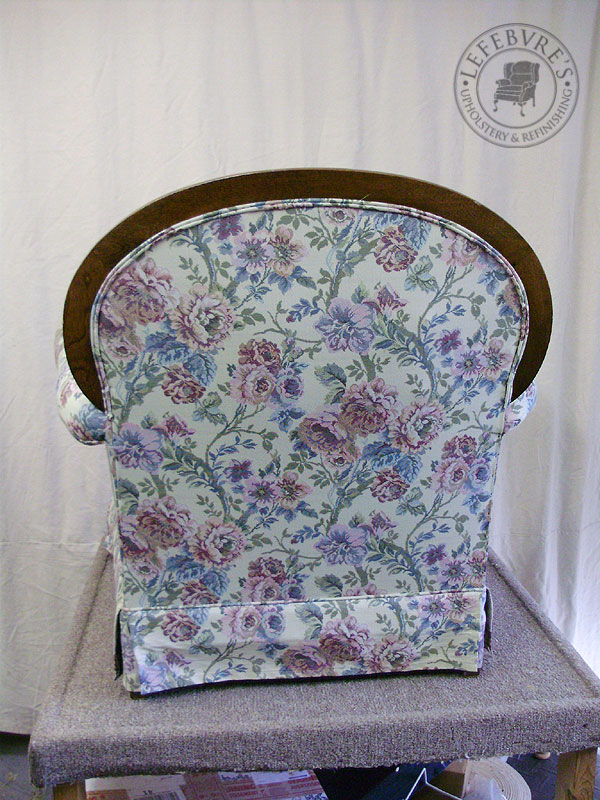
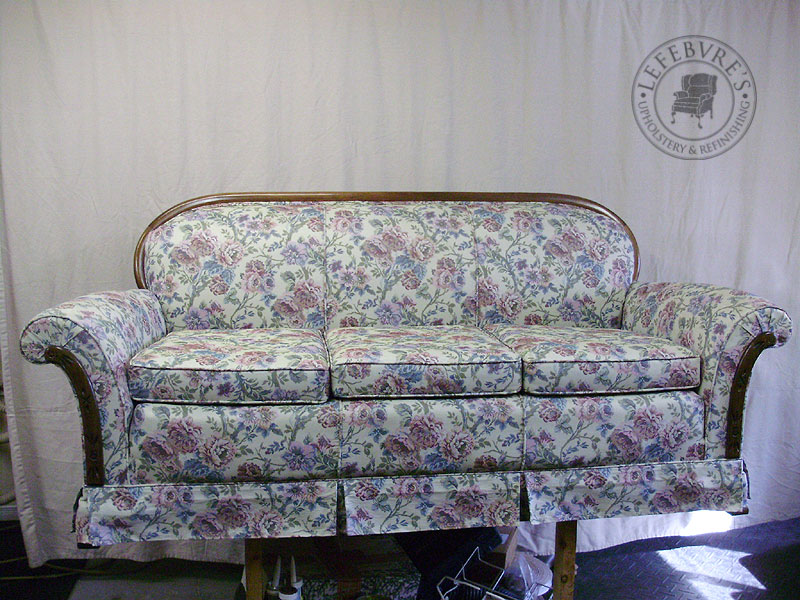
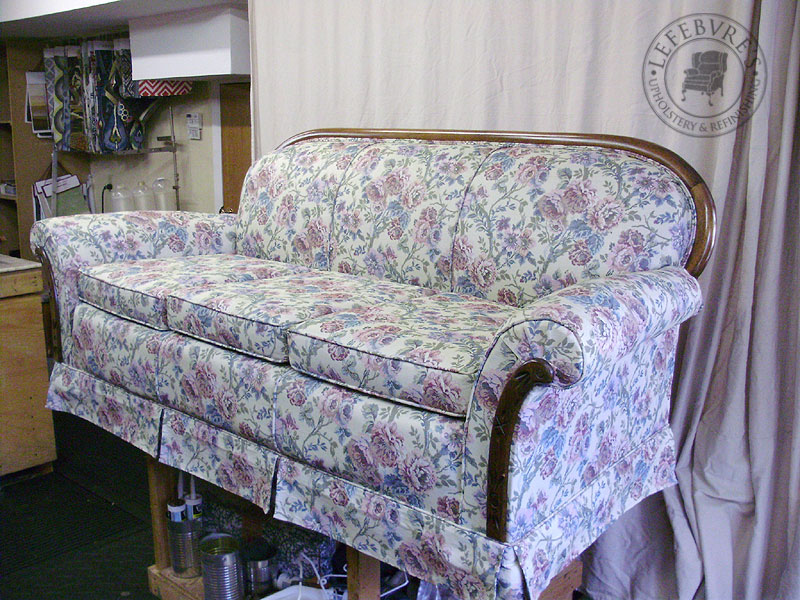
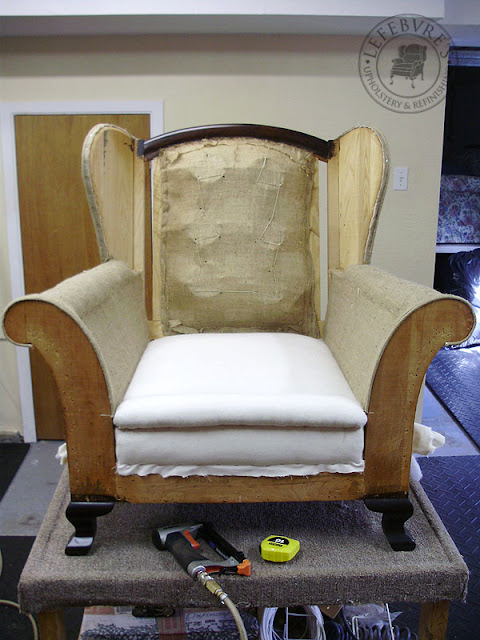
Wing chair before:
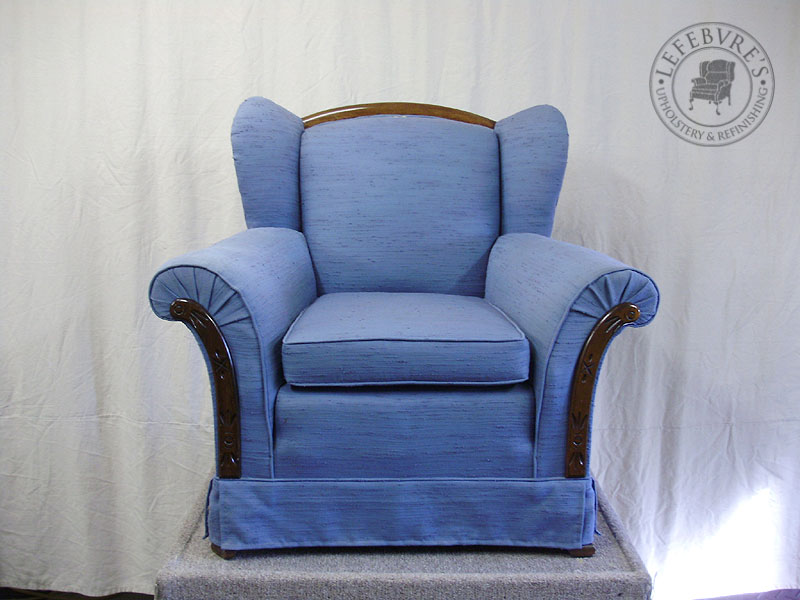
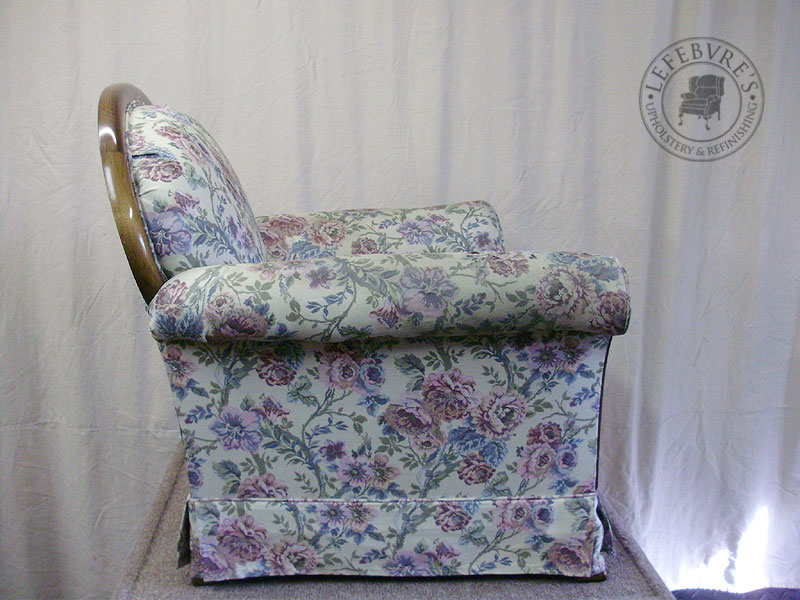
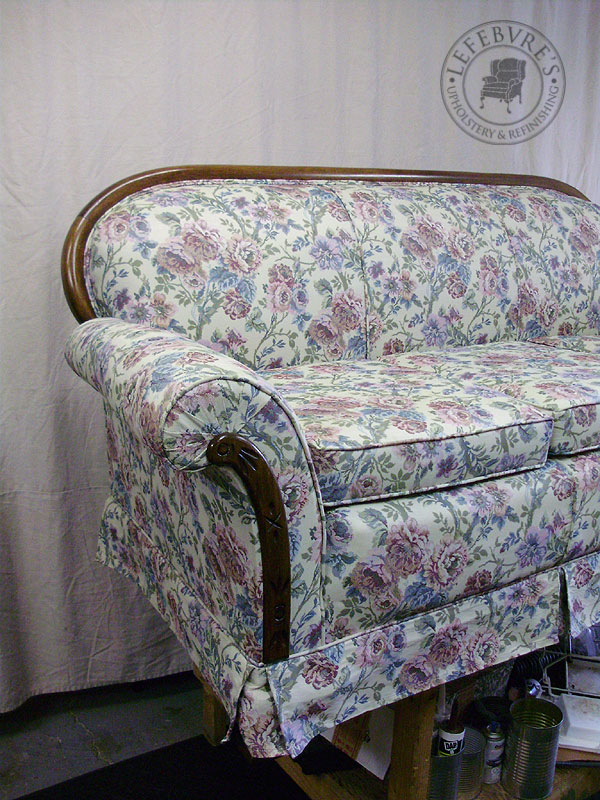
Note hat the front (portion just below the seat cushion) is incorrectly upholstered on all 3 pieces (this chair, the sofa, and the other chair). The fabric should be attached to the wire edge of the springs, forming a crease here (see finished photos). As is now, it's very baggy and not appropriate for the style/age of the piece(s).

Over the years, the arms have become quite deformed. This piece (and any very old piece stuffed with straw) needs to have the foundation work redone every once in a while (20-30 years I'd guesstimate) but a lot of upholsterers don't bother. We care, we do this work. We strip antiques to the bare frames and start fresh.

There haven't been that many advancements in upholstery techniques, when it comes to antiques/traditional pieces, but this could have been done with hand stitching instead of all the tacks. Tacks are faster, but they definitely don't look that good. We will be doing a piping, and using ply grip (a flexible metal track that is hidden and holds the fabric).


Lots of little tacks, and a double piping that just ends abruptly.
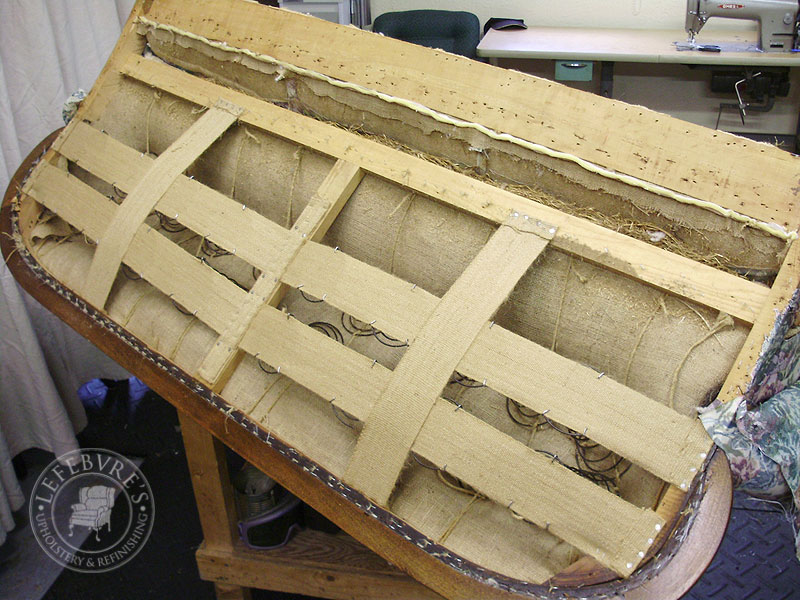
Partially stripped frame. Note how loose and baggy the side panels have become over time. Some (lazy) upholsterers would either tack a new burlap on top of this, or do nothing, and simply add more stuffing to build-up the arms.

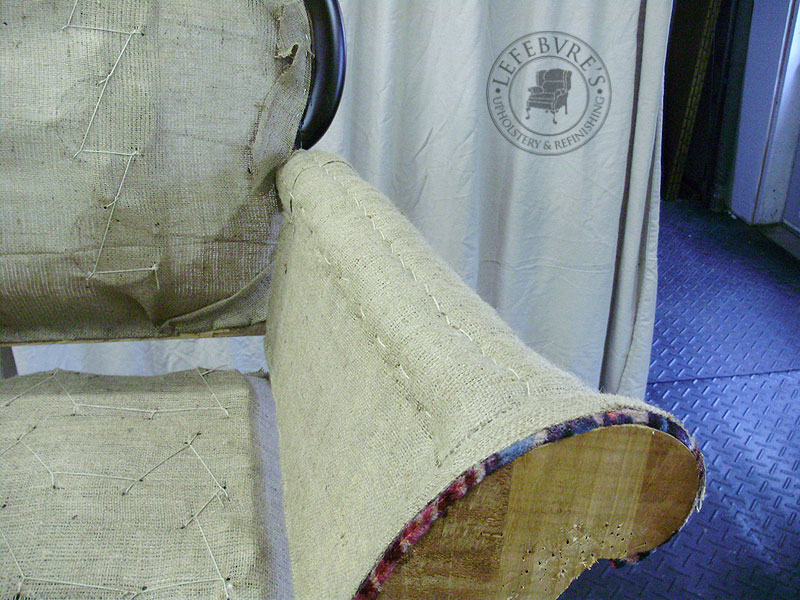
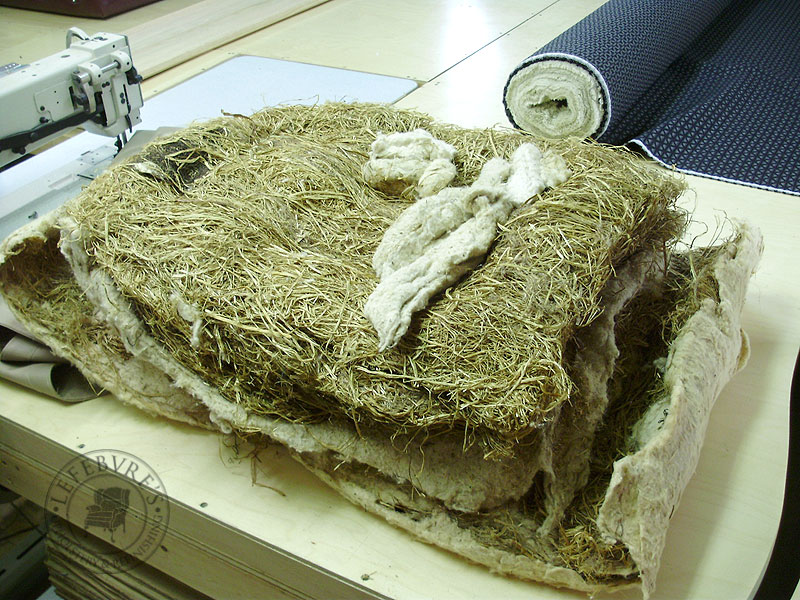
This is the first layer (deepest layer) of straw on the arm(s). This should be very tightly compacted, giving the flat wooden arm top a curved surface. As you can see, it's extremely loose and baggy.

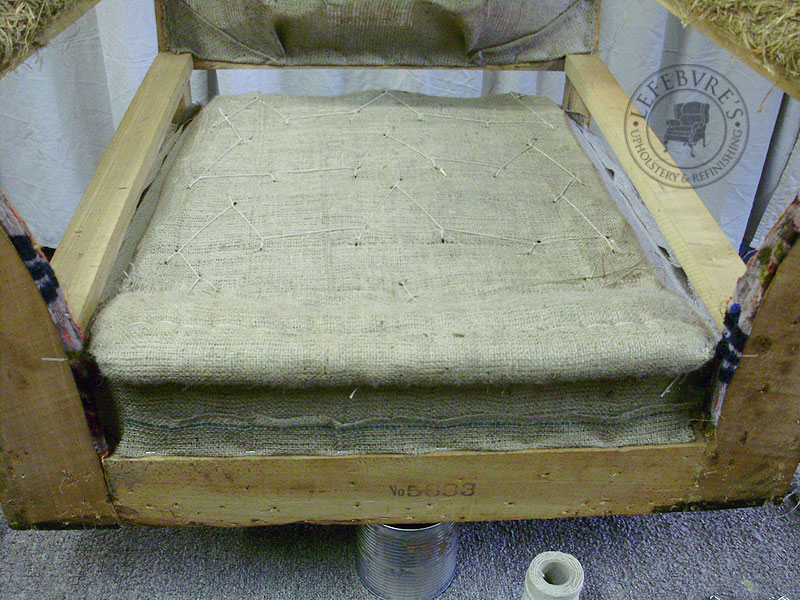
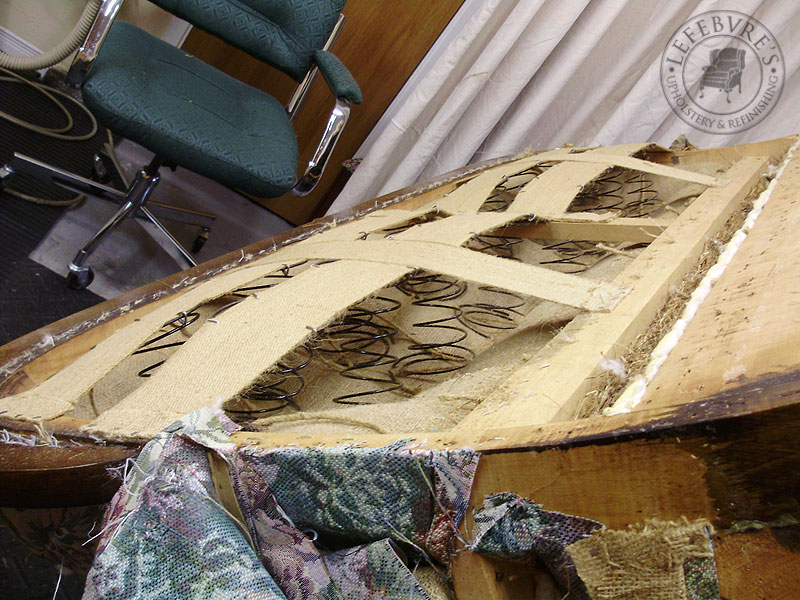
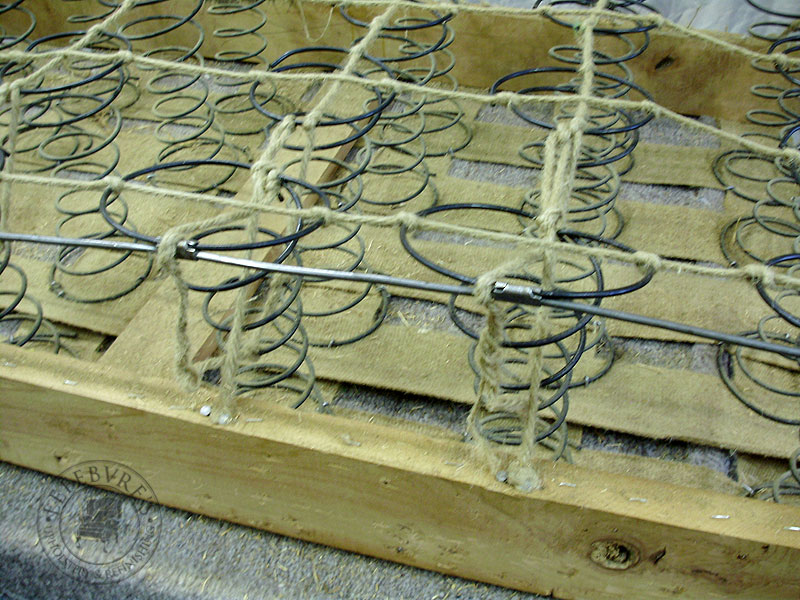
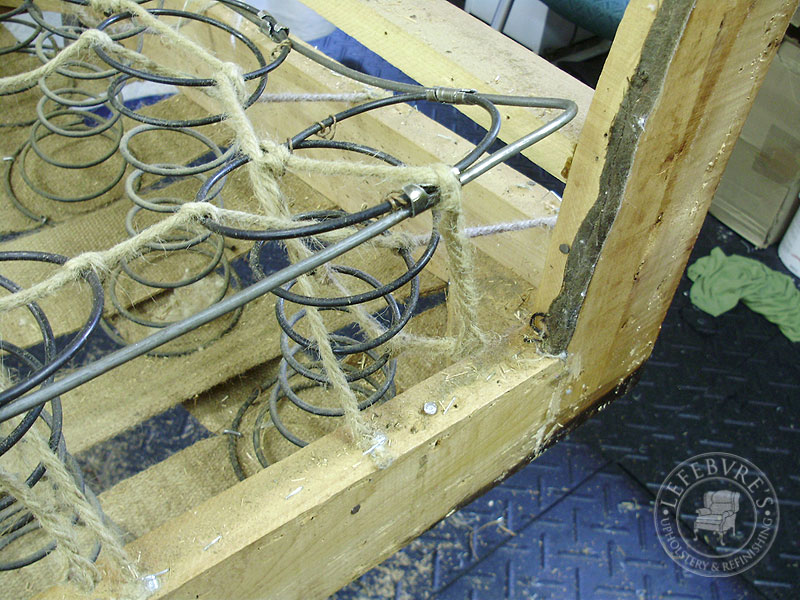
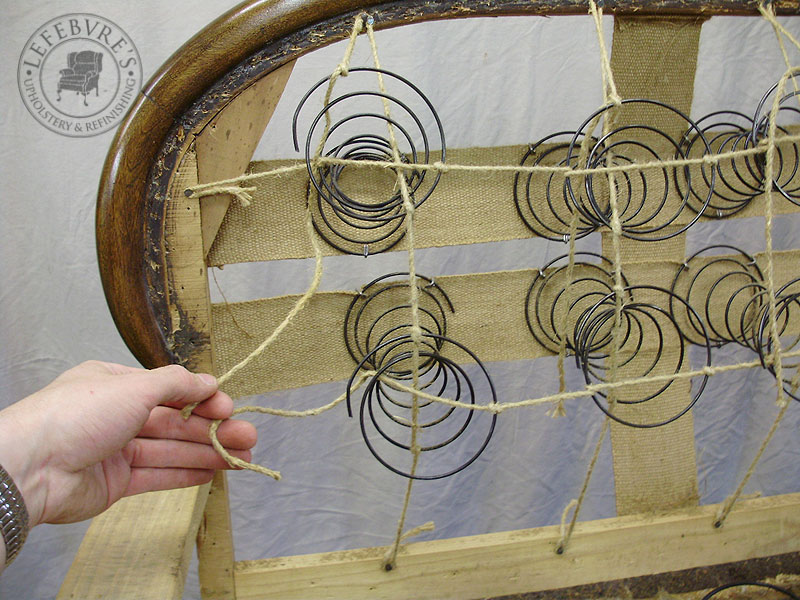
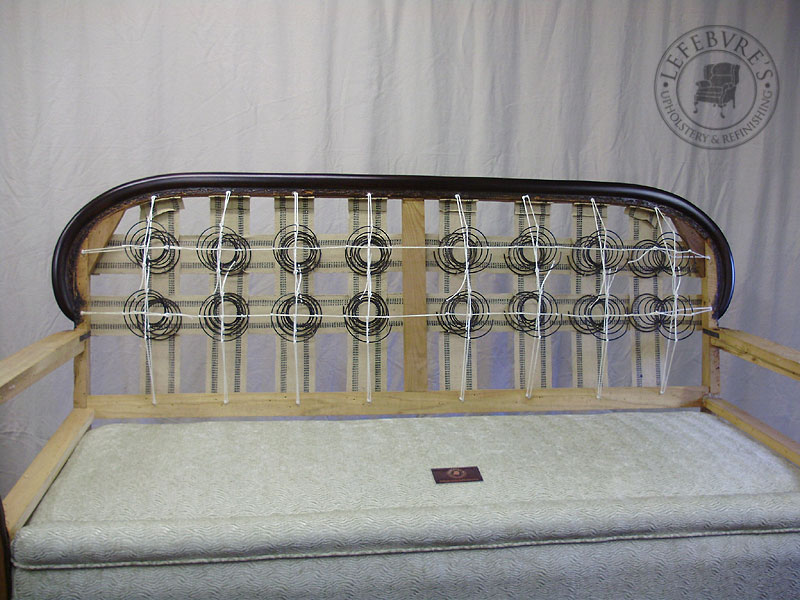
Busted spring twines.
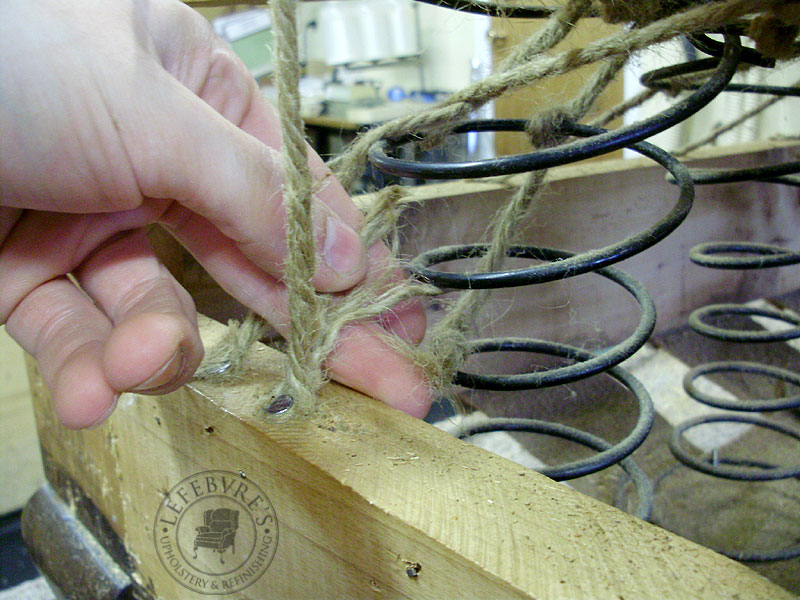
Correct (but deteriorated and probably original) 4-way tie. We no longer use 4-way, preferring 8-way ties, which are stronger, last longer, and support the stuffing better.

This shows the first stuffing (straw) on the other arm, after the old burlap has been removed. The stuffing is just lifted off (in one big chunk) and set aside for now.

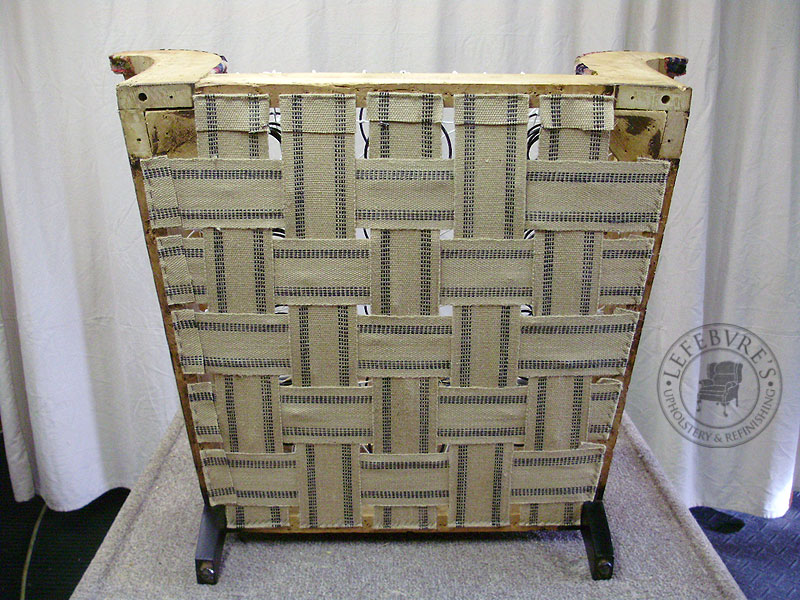
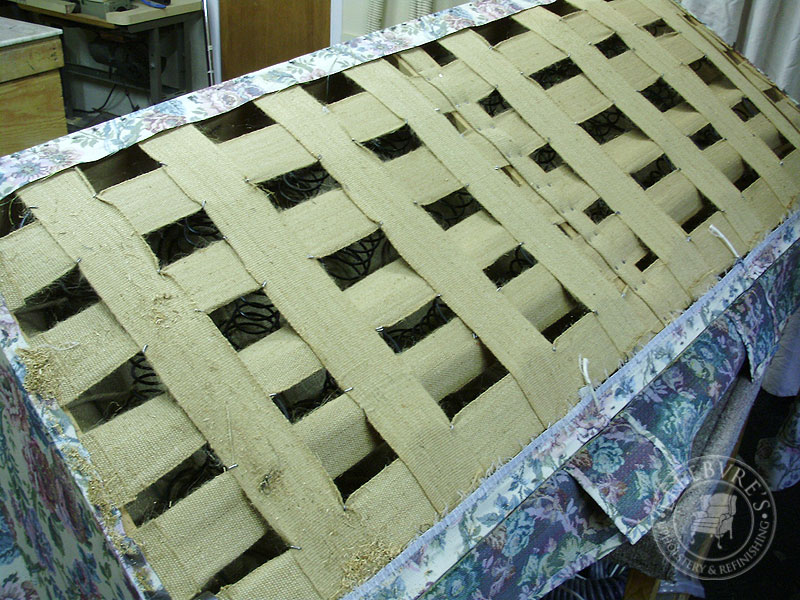
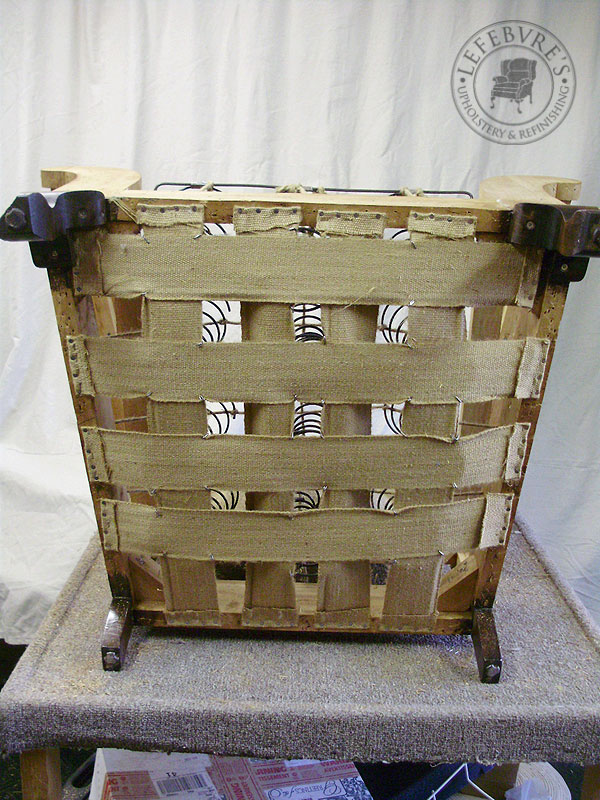
I've never seen someone screw-up webbing like this. It's not uncommon to have to alter one row, but to completely forget to "basket weave" the webbing makes it incredibly weak. ALL 3 pieces were like this.
So much better:

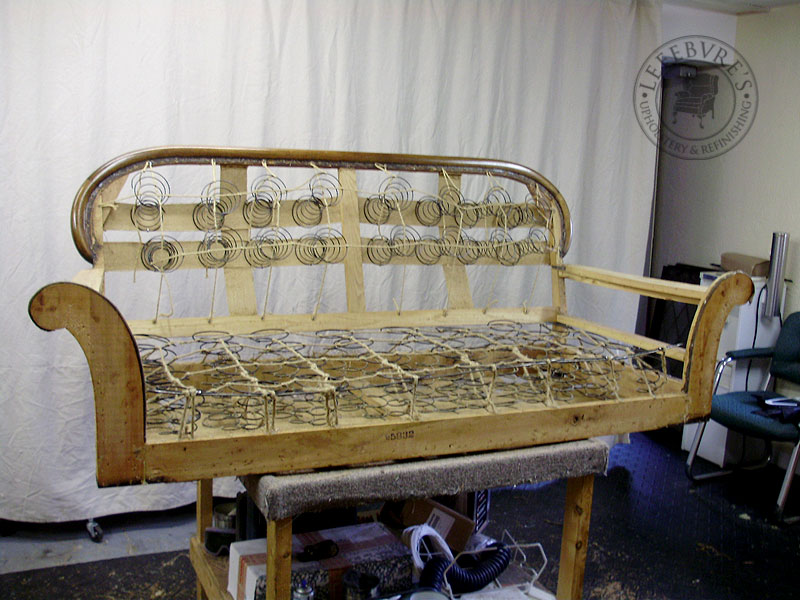
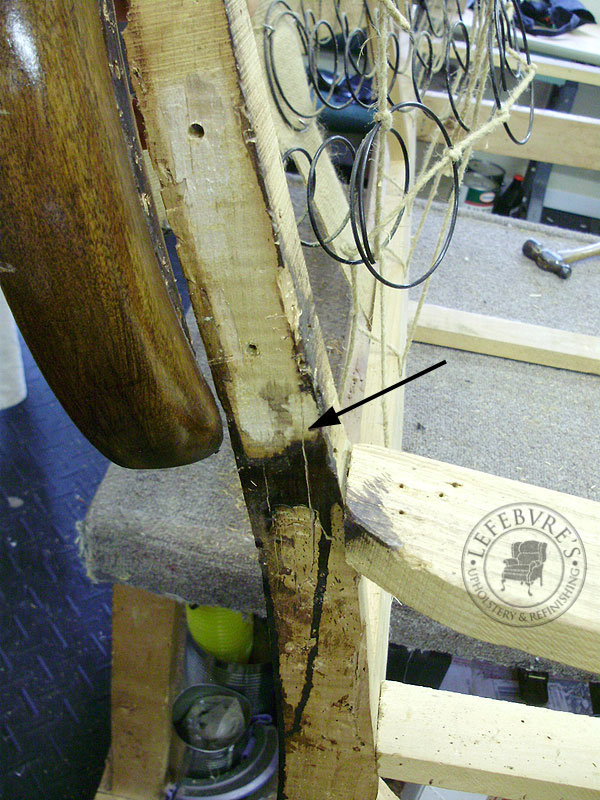
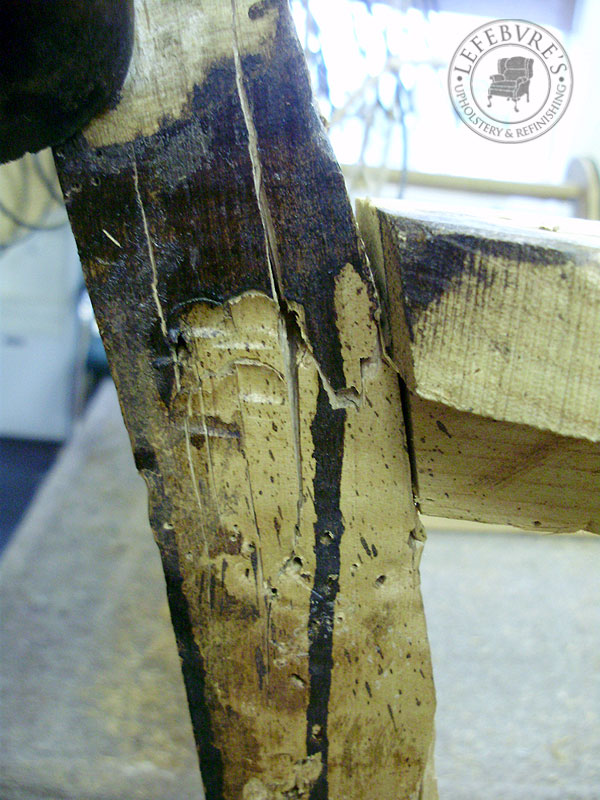
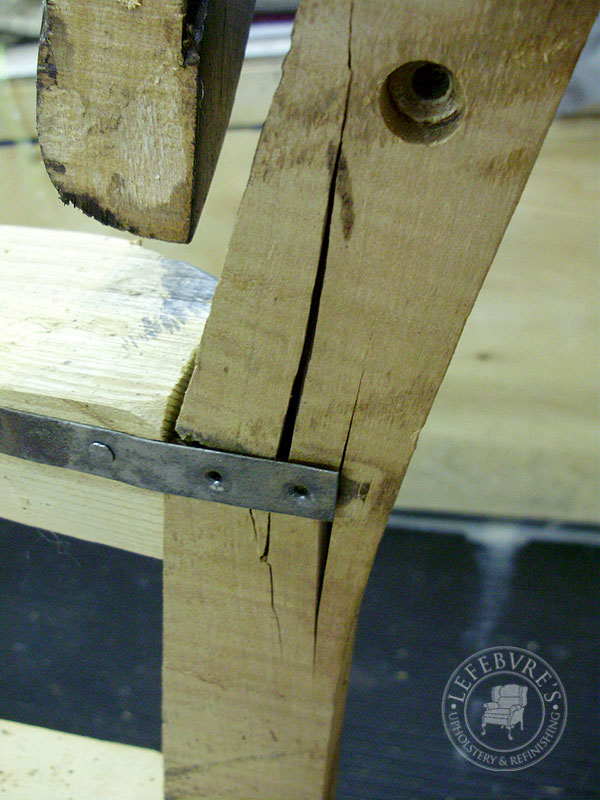
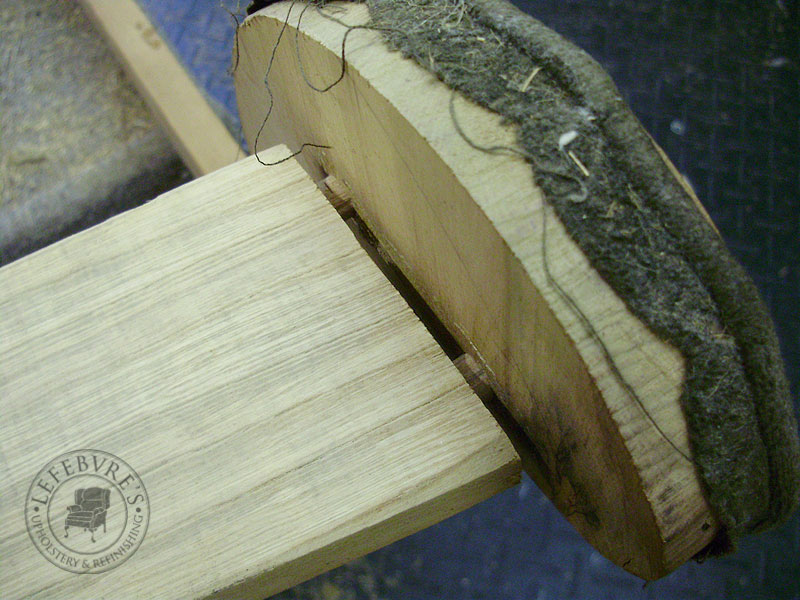
Before I forget, note the broken front foot.
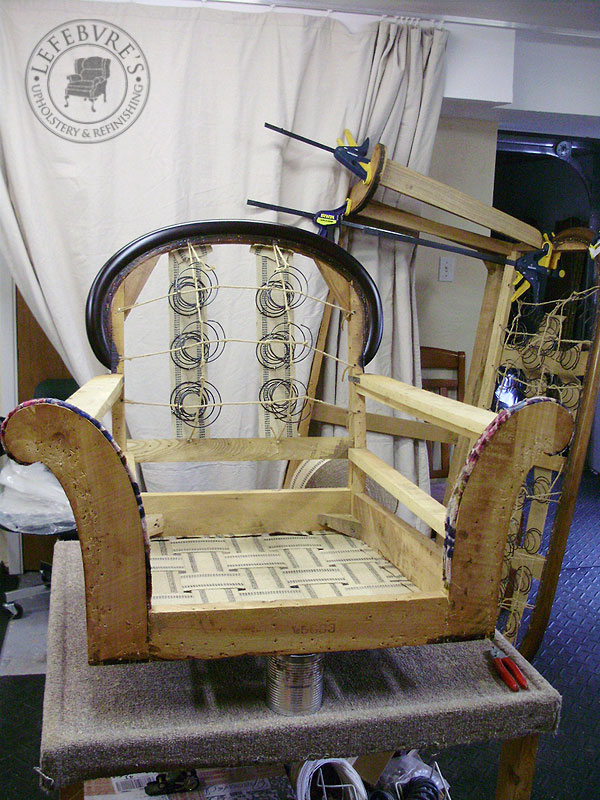
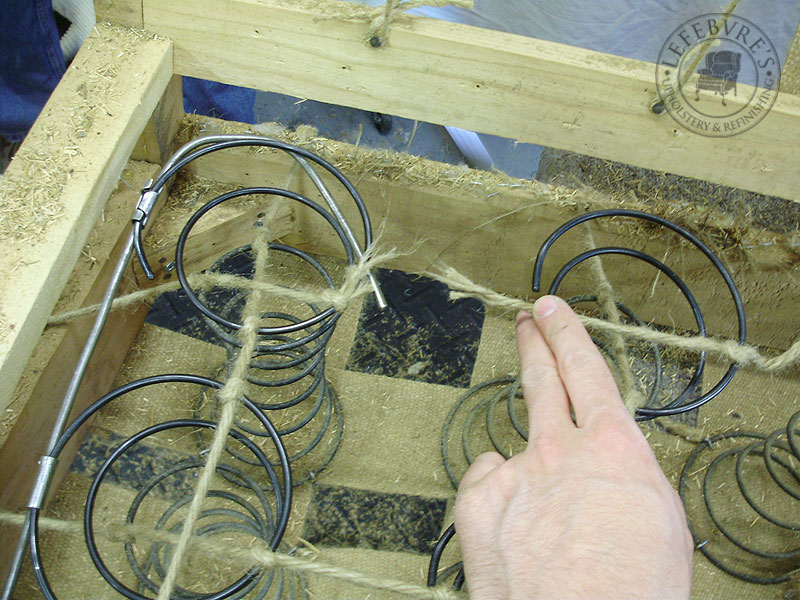
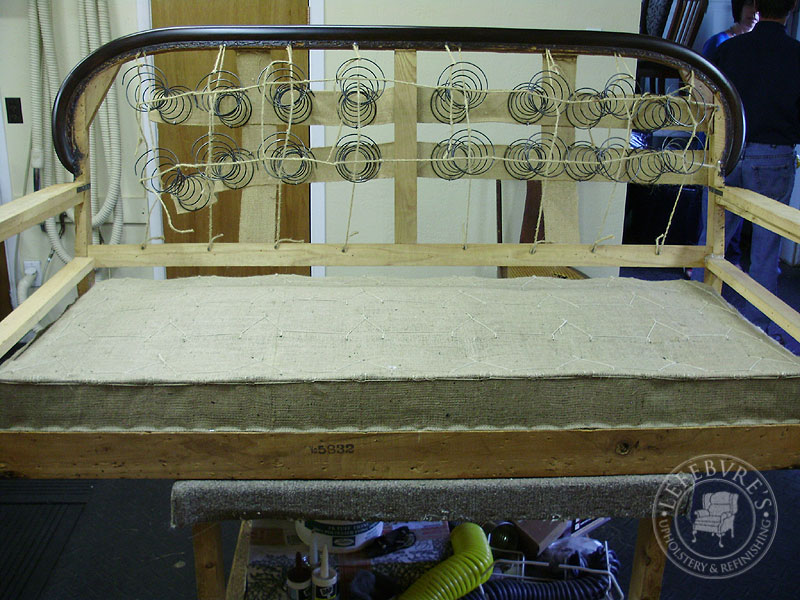
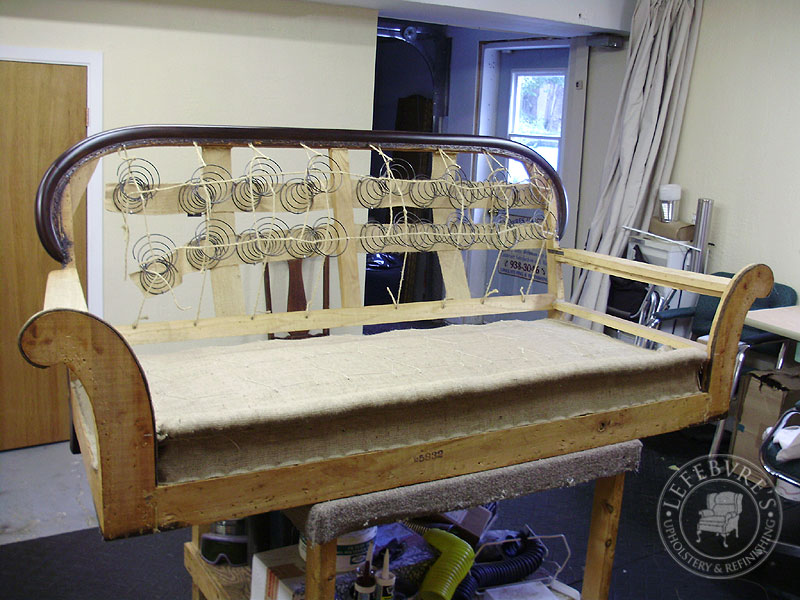
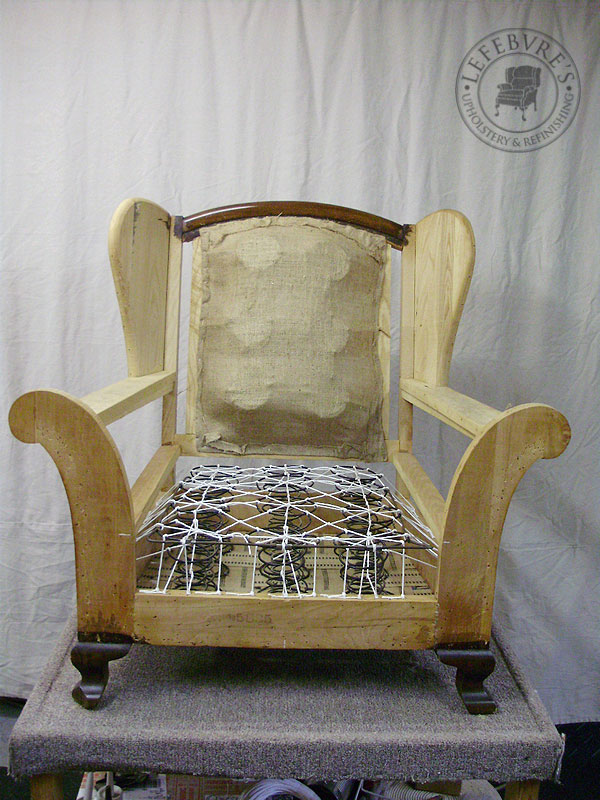
Completely stripped chair (before refinishing though - note colour difference between the legs and back), and with the new webbing, new spring ties (8 way). Also note flat arm tops.

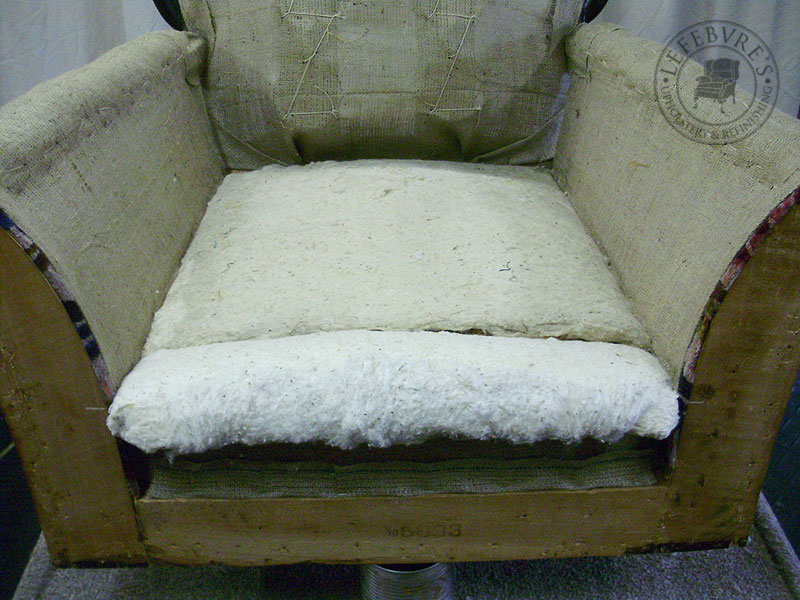
Seat stuffing before putting it back in place (and arm stuffing on the bottom).
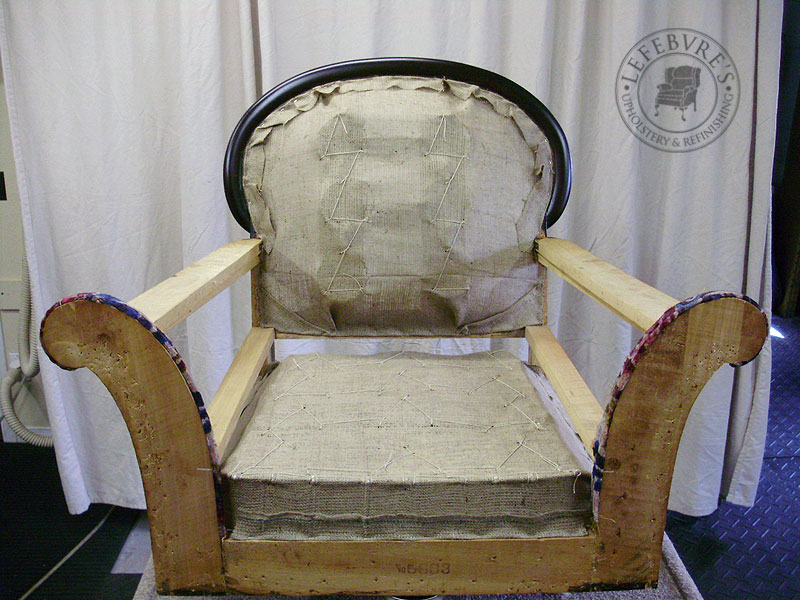
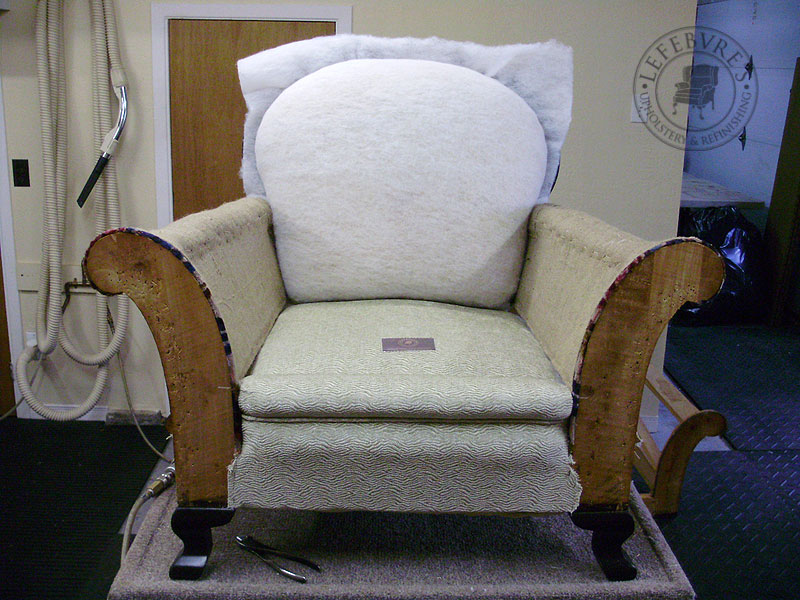
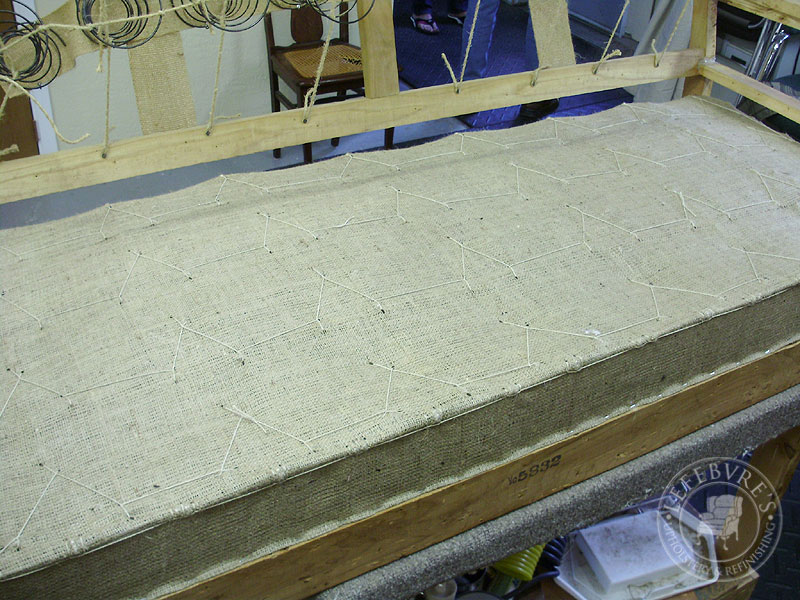
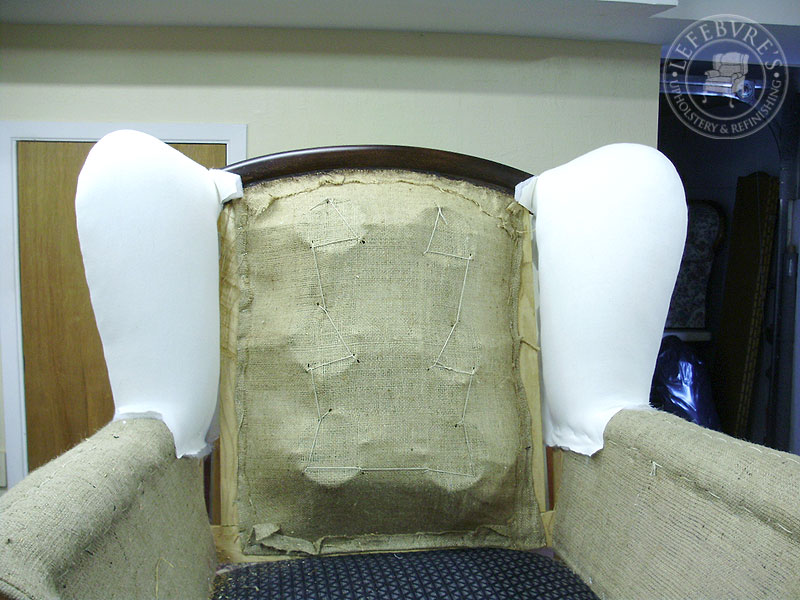
Skipped the edge roll, but you can see it in other posts, and on the other chair. Here's the chair with the seat foundation done (with rough cover), and with the arms redone, firmly compacted (original straw), new burlap, and the straw hand stitched. At this point the legs and back have been refinished, and the broken foot is repaired.
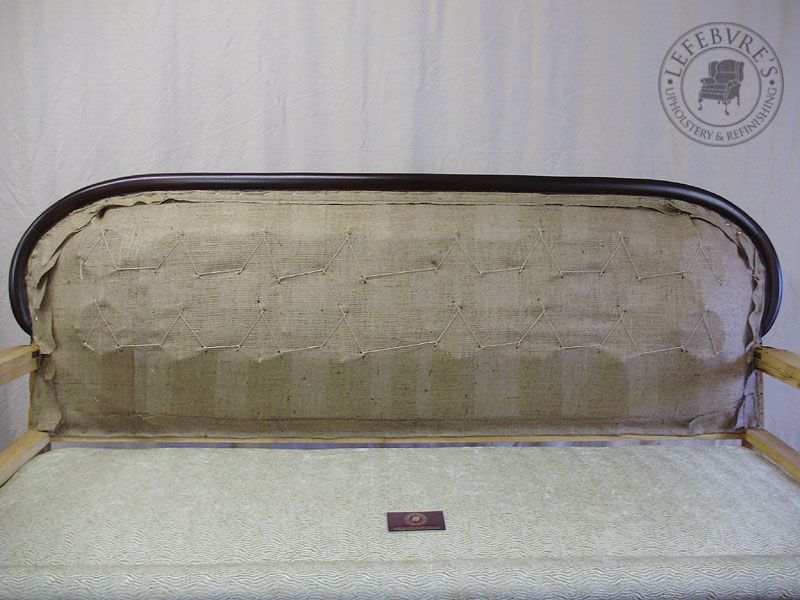
Stitched springs, and stuffing/rough covers on the wings.
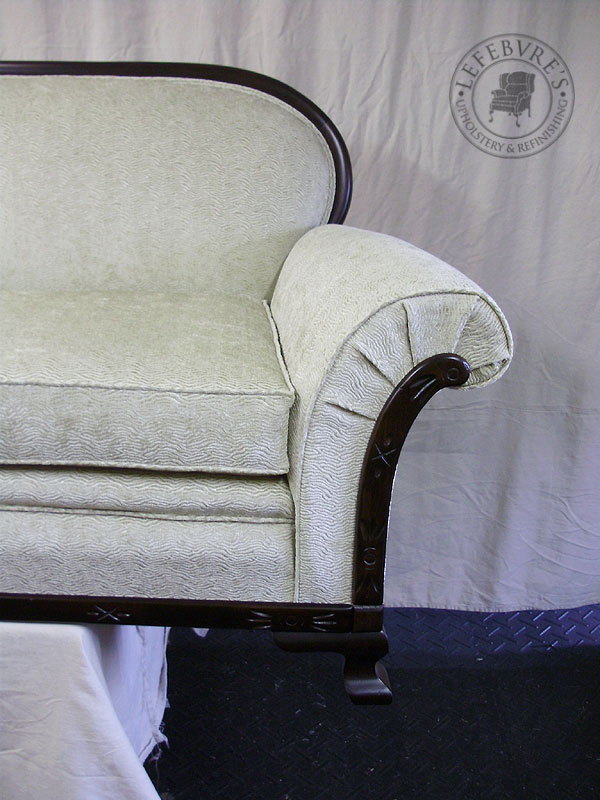
Arm stuffing put back in place (again, lots of straw, and cotton), covered with rough covers. Seat (deck) in place. Note the rib where the fabric is attached the front edge (spring wire).

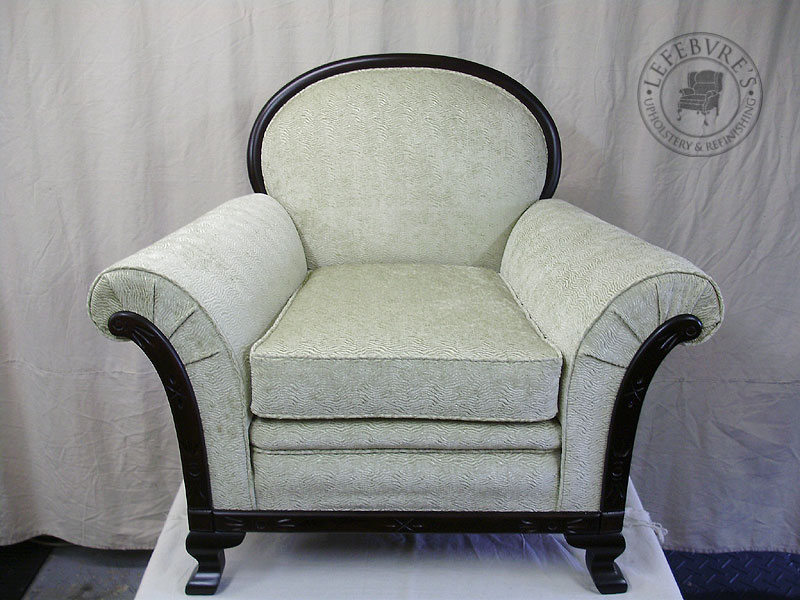
Nearly there.

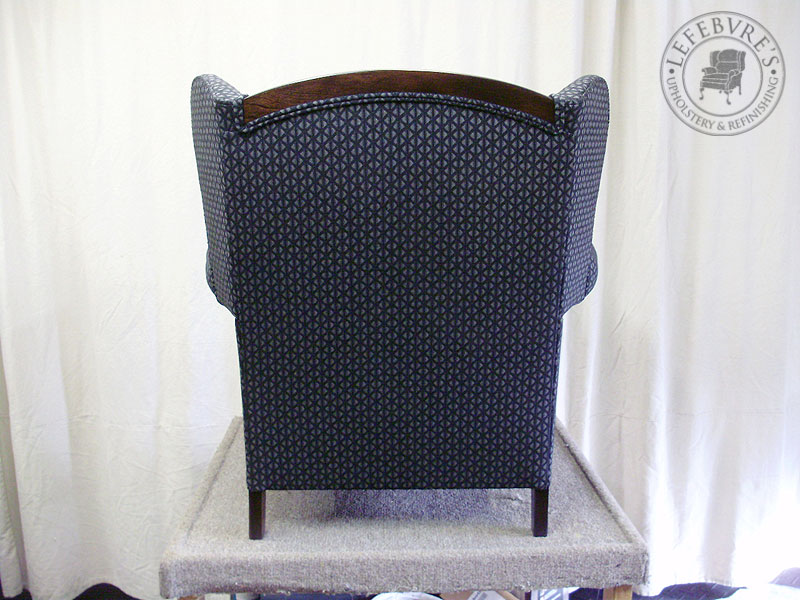
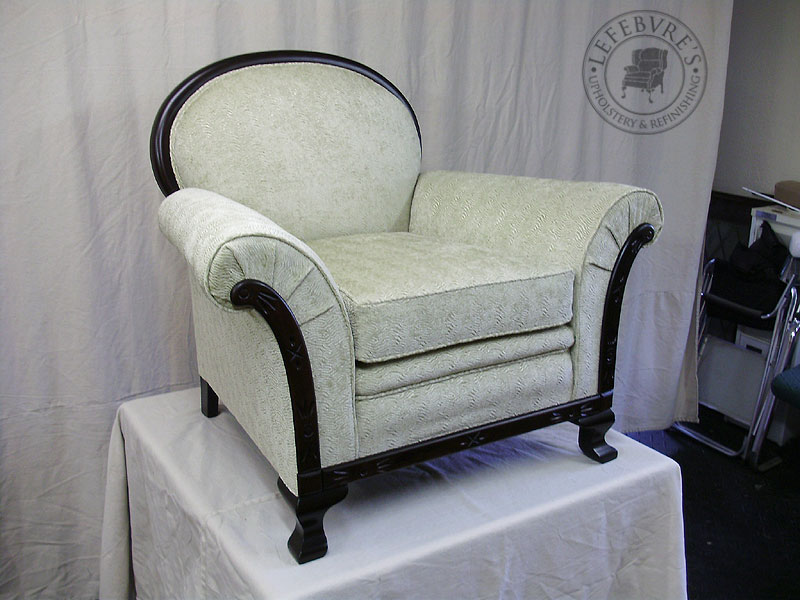
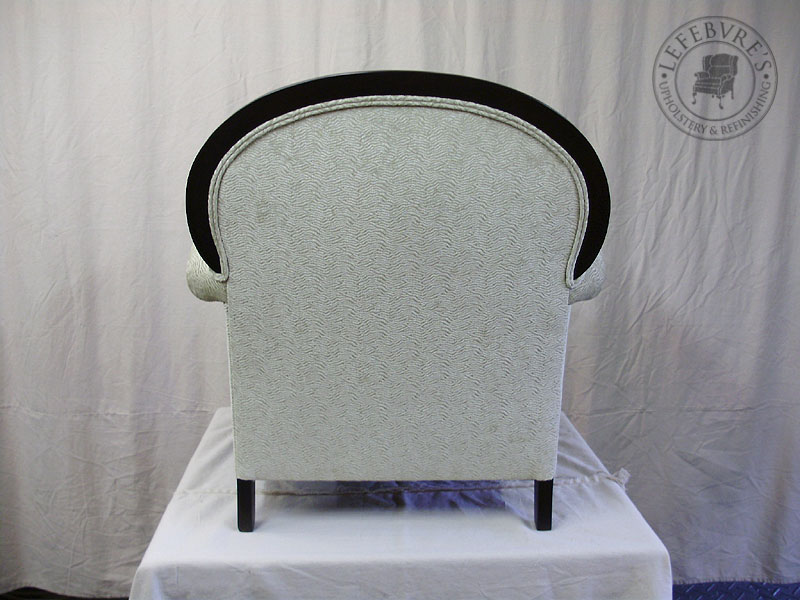
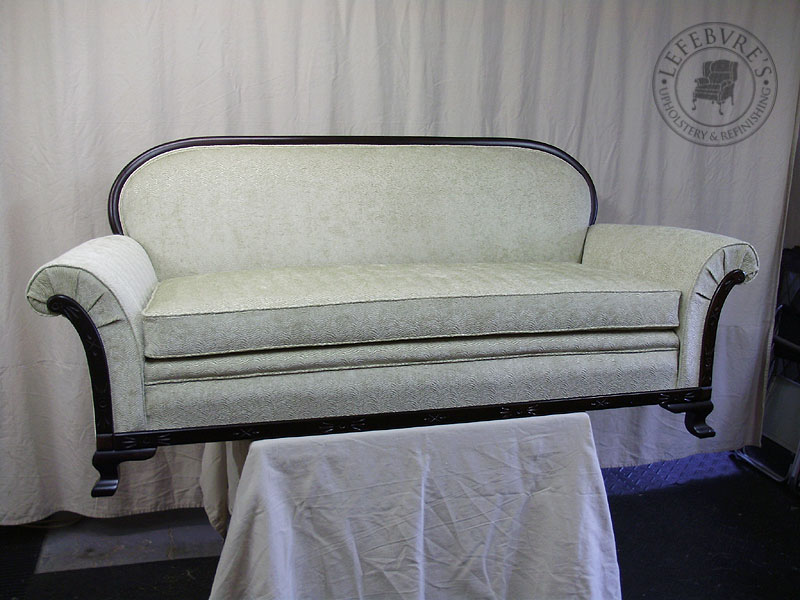
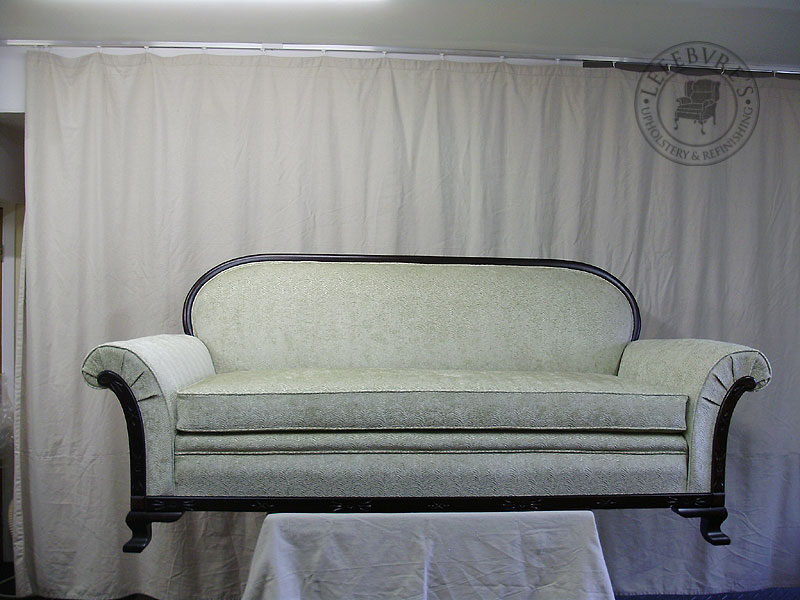
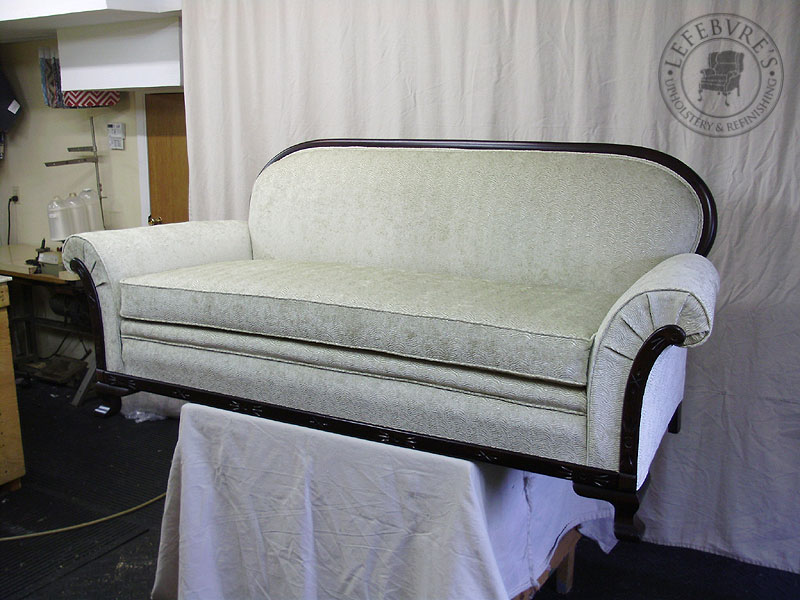
DONE. I actually really love this piece. Both the colour/pattern, and the shape/look of it. The dark wood plays nicely with the black/charcoal grey print.
The seat cushion(s) in the entire set were replaced.


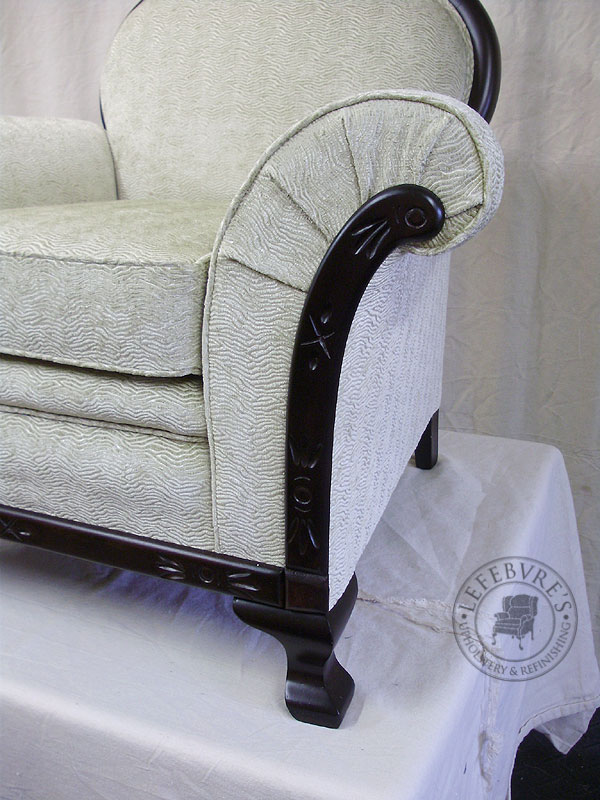
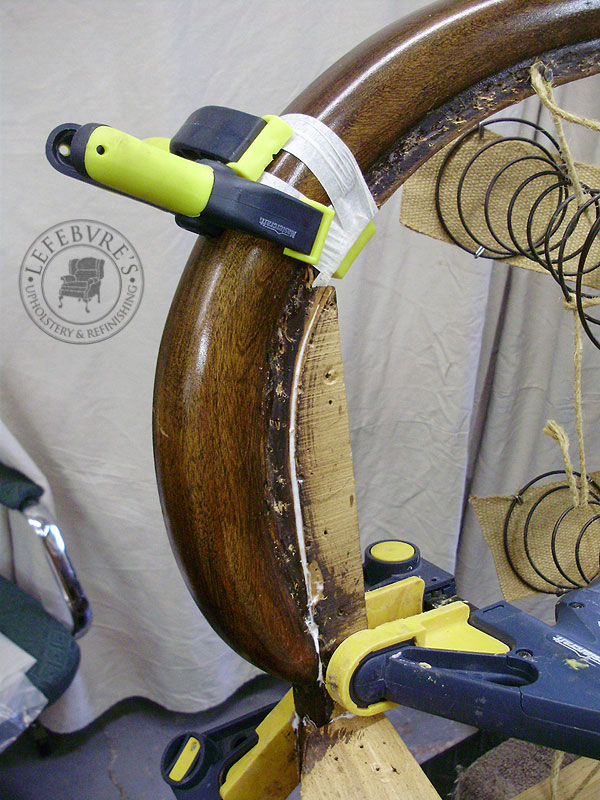
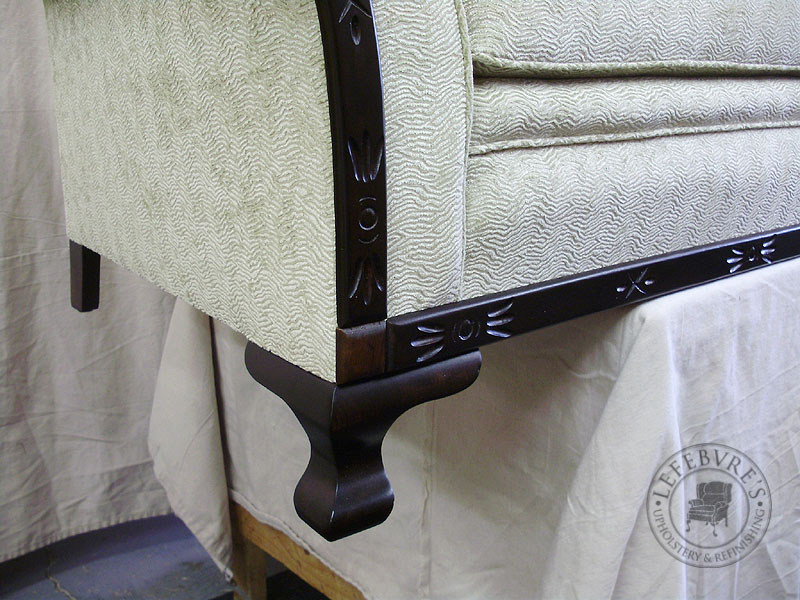
This was the broken foot. The dark stain really helps hide the joint.

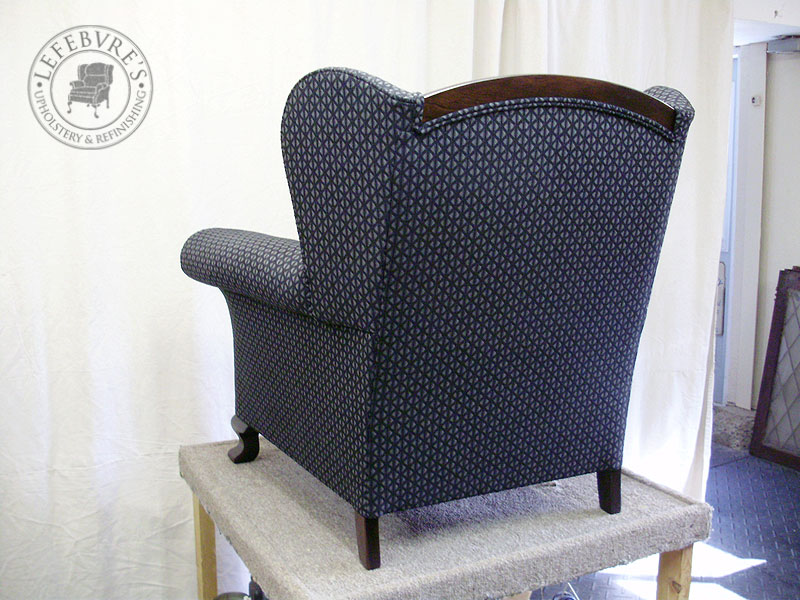
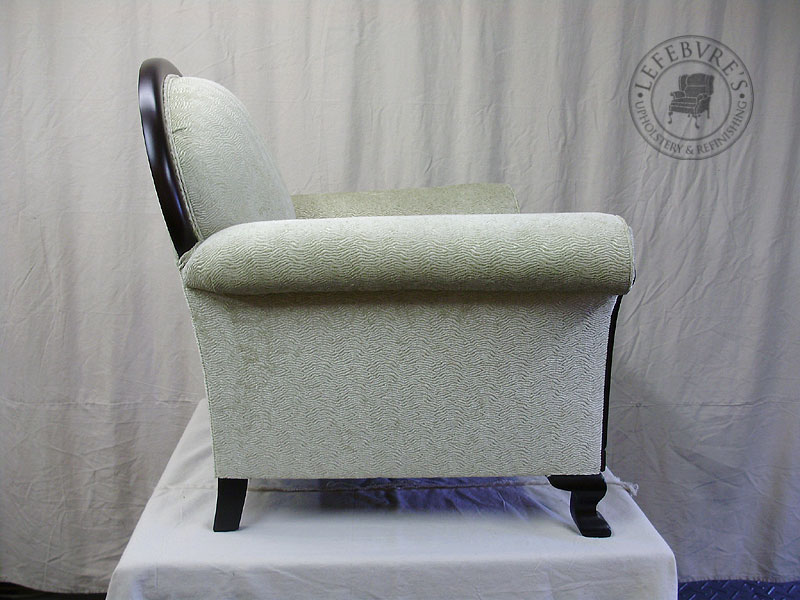
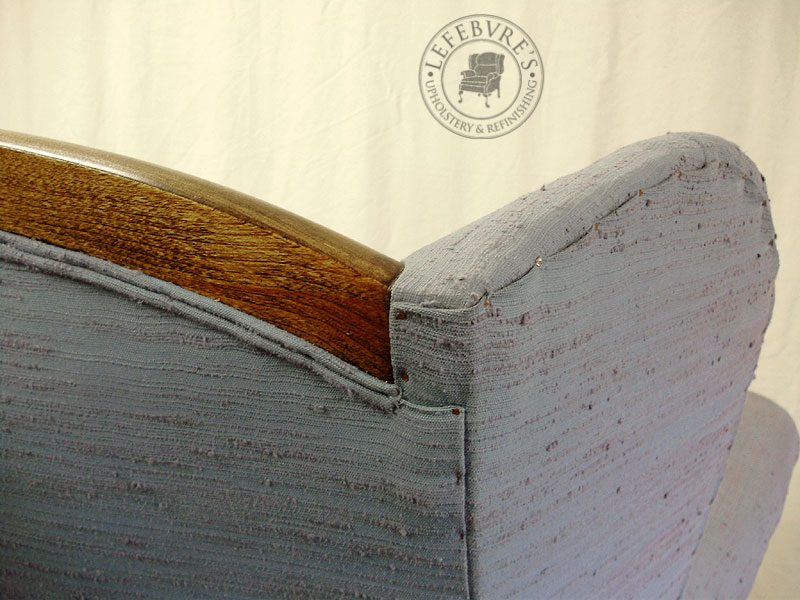
Beautiful crisp arms, with a nice tight side panel. Also note the wing, with no more unsightly tacks.
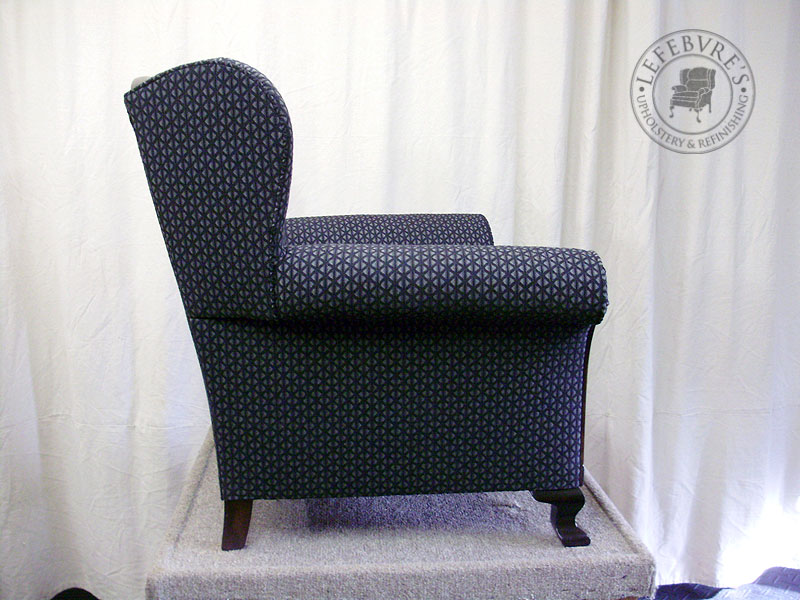
The double piping goes around the wood band all around.